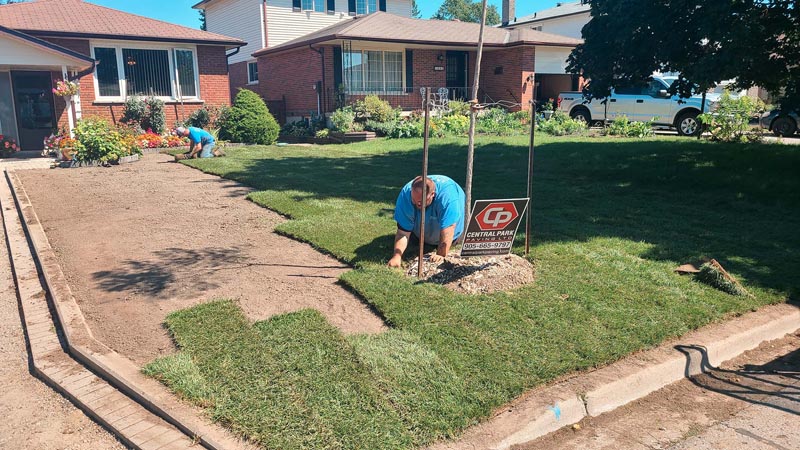
How do I properly prepare the soil for sod installation?, Oshawa
Sod Installation near Oshawa: How to Prepare the Soil for Sod Installation?
Proper soil preparation is critical to the success of your new sod installation. Begin by removing any debris, rocks, or weeds from the area where the sod will be installed. The soil should be loosened to a depth of six inches using a rototiller or a garden fork. Soil amendments may be necessary to improve the soil's nutrient content and structure. Organic matter, such as compost or peat moss, can be added to improve the soil's ability to retain moisture. Finally, the soil should be leveled and compacted using a roller to create a firm, even surface for the sod to be installed.
Don't let poor soil quality ruin your new lawn - trust Royal Blue Property Maintenance for expert soil preparation and sod installation services near Oshawa.
Sod Installation near Oshawa: What’s the Best Soil for Sod Installation
The best soil for sod installation is nutrient-rich, well-draining, and has a balanced pH level. Ideally, the soil should be a mix of sand, silt, and clay to provide good water retention, drainage, and aeration. Adding organic matter such as compost or peat moss can improve the soil structure and help the soil retain moisture. Testing the soil before installation is recommended to ensure that the soil has the proper nutrient levels and pH balance. If the soil is not suitable for growing grass, soil amendments such as lime or sulfur may be necessary to adjust the pH level. Proper soil preparation is essential to the success of your new lawn, and hiring a professional sod installation company like Royal Blue Property Maintenance near Oshawa can help ensure that your soil is properly prepared for your new sod.


